Brooding chicks is a fundamental aspect of homesteading, combining careful attention and straightforward practices to ensure the healthy growth of young poultry. In this guide, we focus on essential aspects such as temperature control, proper feeding, and creating a safe space for your chicks. Whether you’re new to brooding chicks or have experience, these practical tips will help you provide the best care for your young fowl. Let’s explore the essentials of setting up a brooder and nurturing your chicks during these crucial early days.
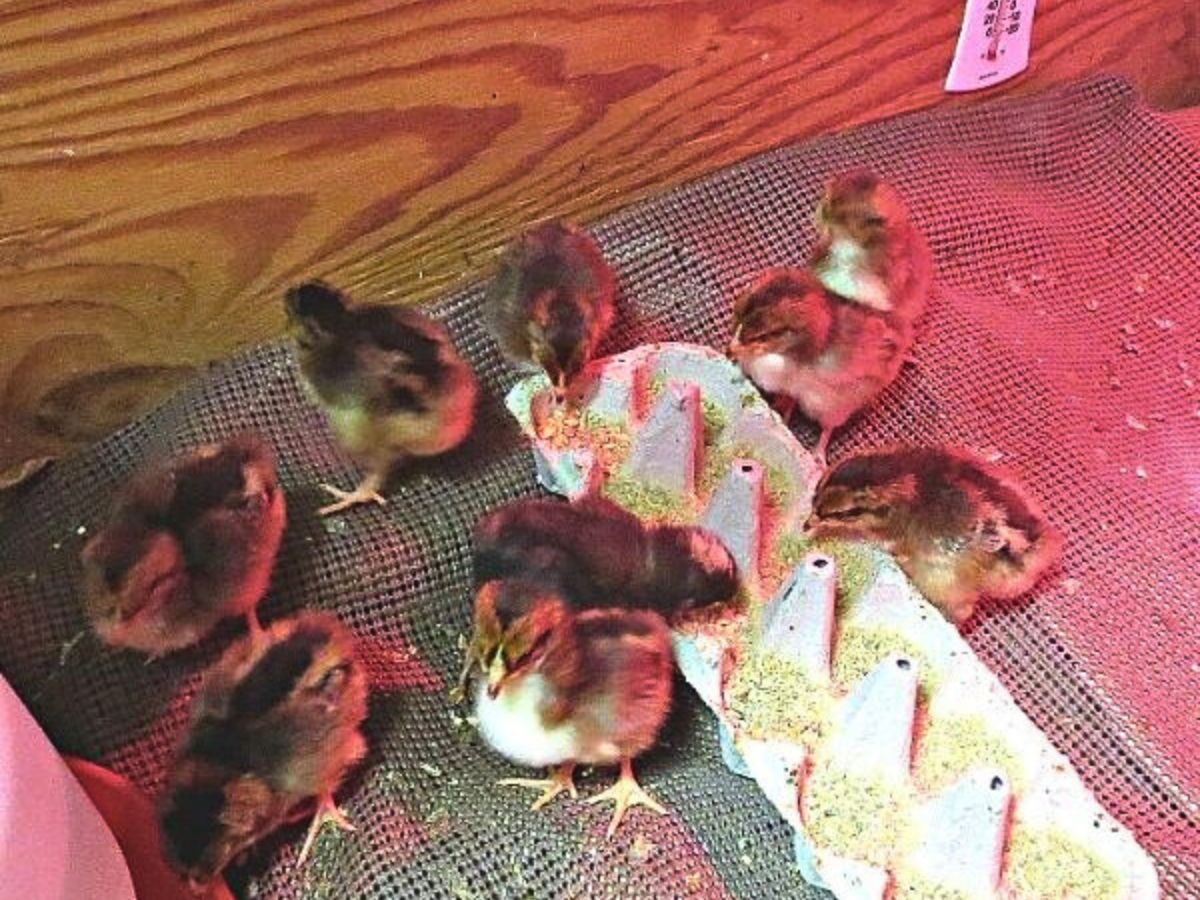
Successfully Brooding Chicks
I once read a saying that stuck with me: ‘It’s important to distinguish between the ideal and the good enough reality of doing things.’ Often, the ideal approach can cost more than many of us are willing or able to spend.
It’s up to you to determine what ‘good enough’ means for you and your chicks. Remember, as my grandfather used to say, “There are as many ways to get a farm job done as there are farmers….”
When brooding chicks, whether mail-order or hatched right at home in your incubator, the care process remains fundamentally the same. Both require a warm, safe environment to thrive during their critical early days. For mail-order chicks, which might have endured some stress during shipping, immediate warmth and easy access to food and water upon arrival are crucial.
Incubator-hatched chicks, while not facing the stresses of transport, also need a smooth transition to a well-prepared brooder. In both cases, attentive care, monitoring for health and comfort, and providing a steady temperature are key to ensuring your young chicks grow into a healthy, vibrant flock.
Before your chicks arrive or hatch in the incubator, it’s crucial to ensure that everything is set up for their warm welcome. From their cozy brooding space to their first feed, there are some basic but essential preparations you’ll need to have ready and waiting. Let’s walk through what you need to do to create a nurturing environment for your new arrivals.
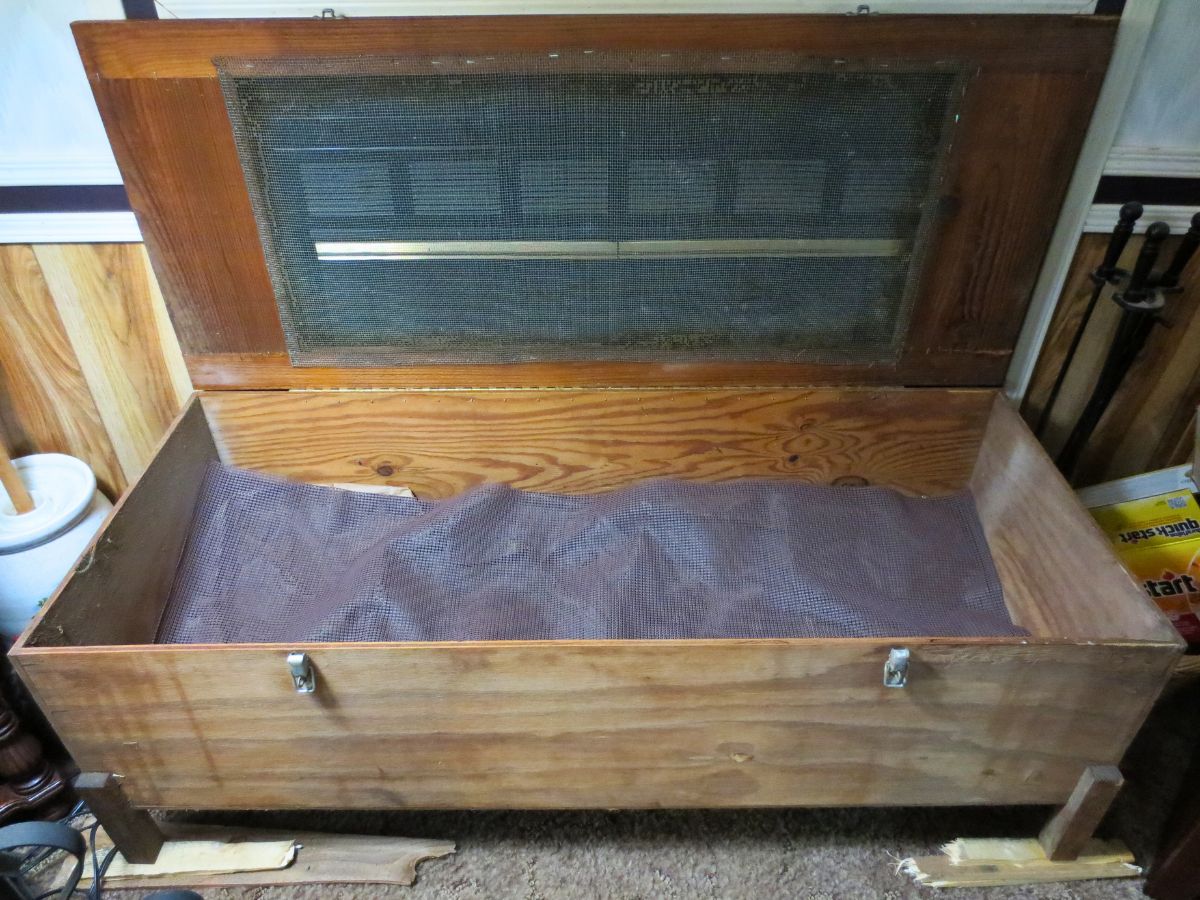
The Brooder
When it comes to brooding chicks, the right conditions in the brooder can make all the difference in the early days of their lives. No matter what brooder setup you decide on, it must meet the basic needs of your chicks.
- Ensure Warmth: The primary goal of the brooder is to keep your mail-order or newly hatched chicks warm.
- Brooder Requirements
- Draft-Free: Ensure your brooder setup is free from drafts.
- Uniform Temperature: It should be able to maintain a consistent temperature.
- Good Ventilation: Proper airflow is crucial to prevent moisture buildup and maintain a healthy environment.
- Types of Brooders: Brooders can range from simple, homemade solutions like cardboard boxes or plastic kiddie pools to more elaborate, expensive setups. Use what works best for your situation and resources.
- Traditional Brooder Methods: Old-timers often warmed their chicks in a galvanized tub placed near a wood stove, a testament to the many viable ways of brooding chicks.
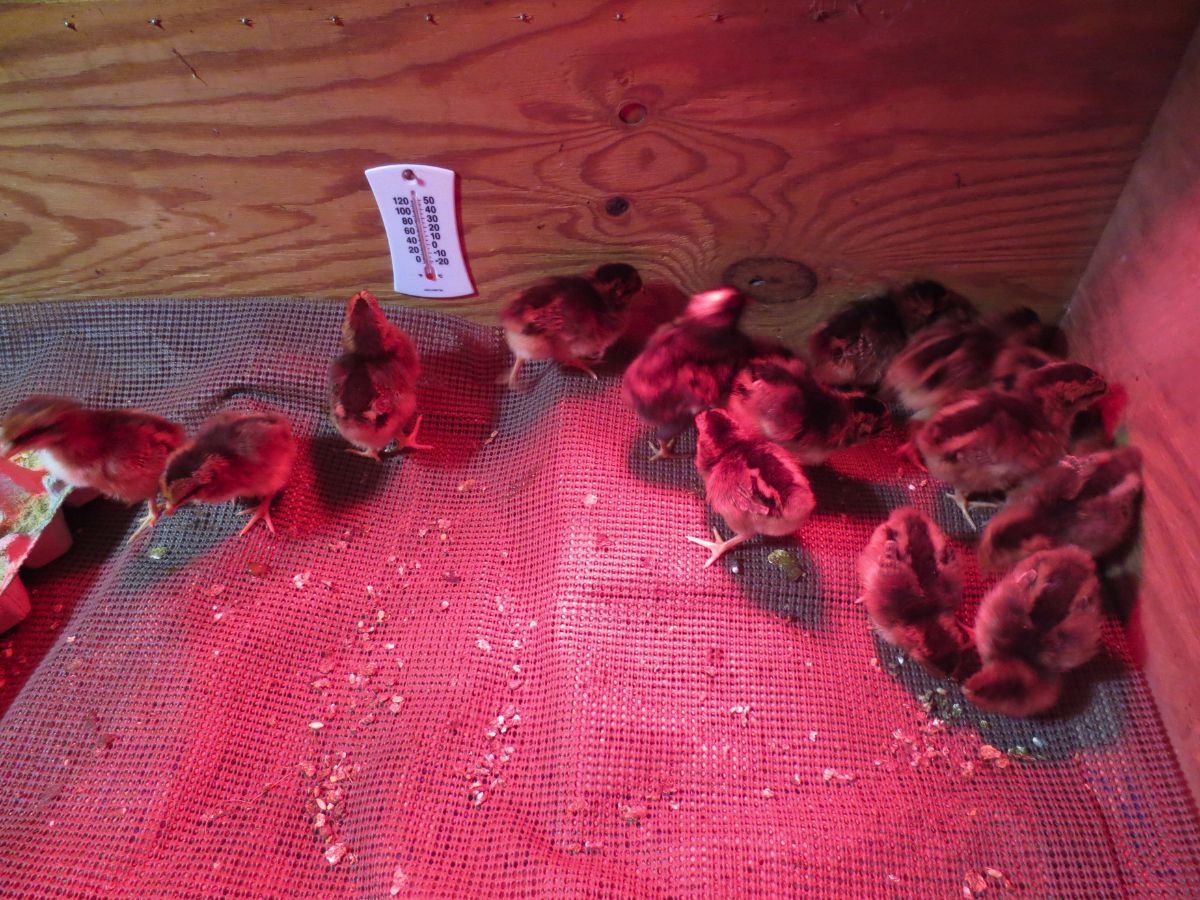
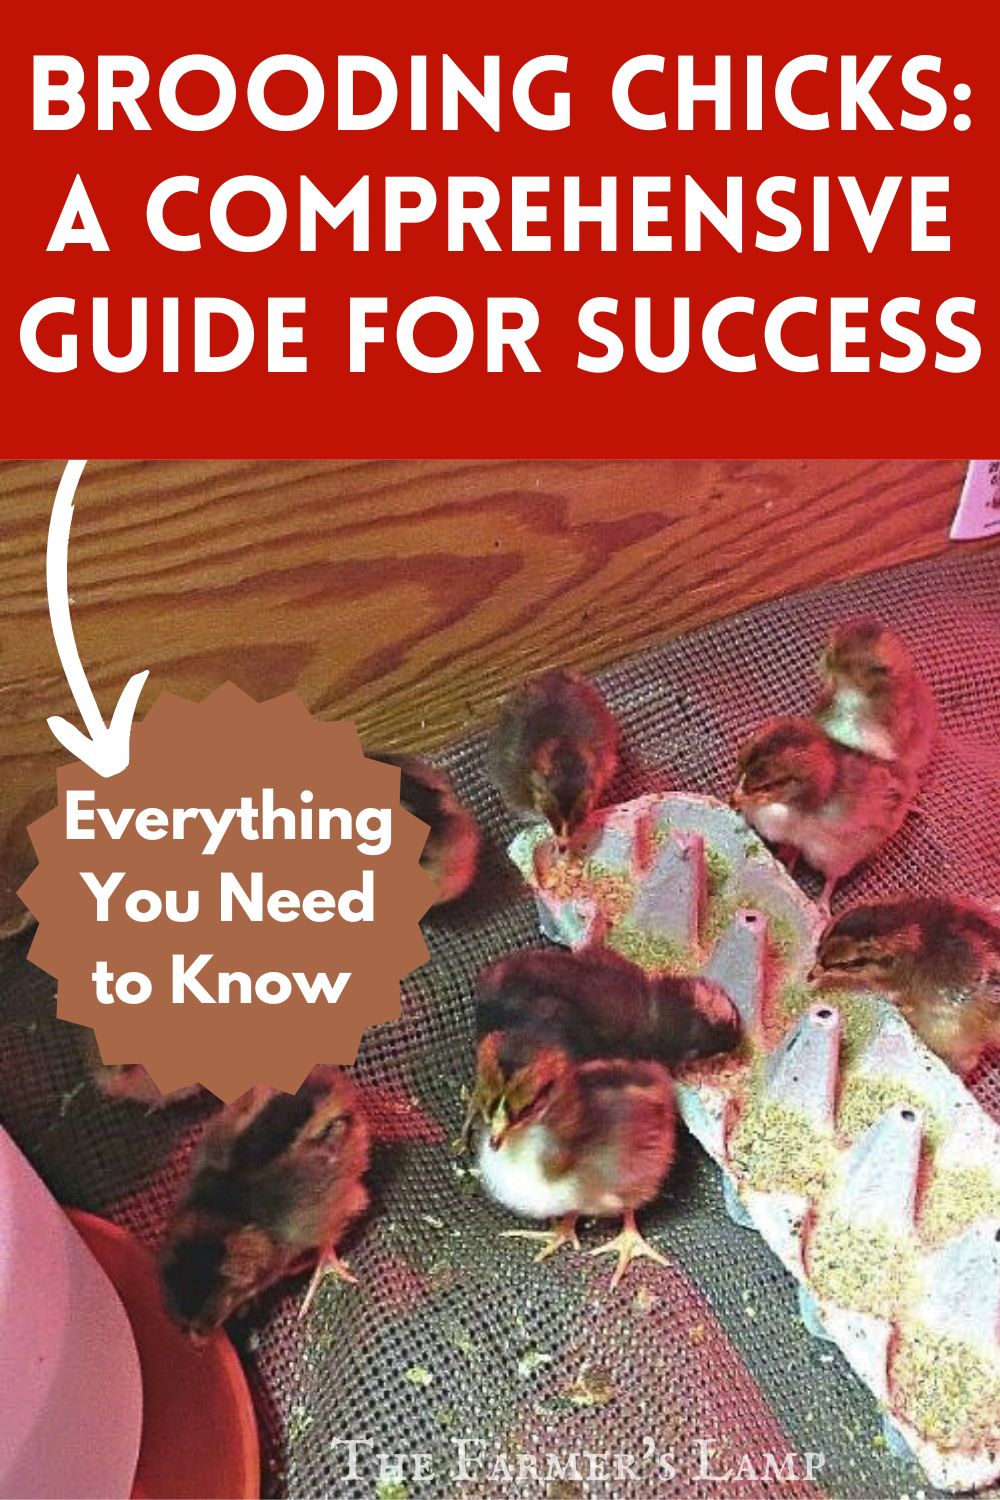
- My brooder, a gift from an experienced chicken owner, has served me well for many years. As You can see in the photo, it’s nothing extravagant.
Watch A Related Video
Heat
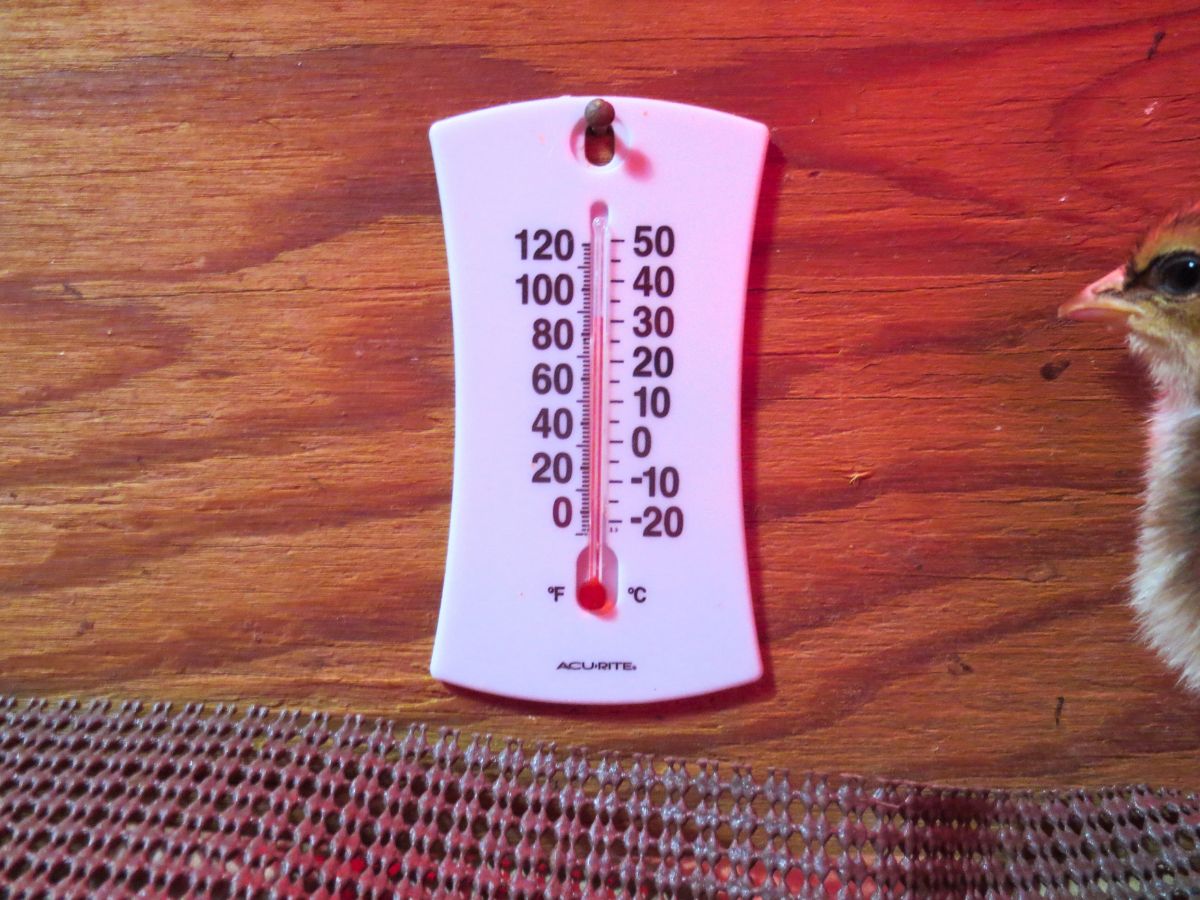
Brooding chicks requires careful temperature management, a task I approach with both precision and observation. In my brooder, a 250W infrared bulb is suspended 12 to 18 inches above the floor of the brooder box, creating a warm, comforting environment. To ensure the right temperature, I frequently check it with a thermometer placed at the edge of the heat circle created by the lamp, aiming for an ideal range of 90-95°F.
As the chicks grow, their behavior becomes a reliable indicator of their comfort. If they’re huddled beneath the lamp, it’s a sign they’re cold. Overheating is indicated when they spread out, pant, or cluster in a dark corner. You’ll also learn to recognize their distinct “Mother, I need you!” chirp, signaling distress or discomfort.
Adjusting Temperature: Raise or lower the heat lamp’s height to adjust the temperature. Ensure a draft-free environment at all times.
Gradual Temperature Reduction: As chicks grow, decrease the temperature by about 5°F each week. Aim for approximately 70°F by the time they reach 6 weeks old, preparing them for outdoor living.
When I’m brooding chicks, I keep them in their brooder for the first two weeks of their lives. This keeps them warm and secure while I closely monitor their health, ensuring they’re eating and drinking well. It’s during these crucial early days that they also become familiar with me as their caregiver, recognizing that I’m the one providing their essential sustenance.
Once they reach three weeks of age, I facilitate a smooth transition by relocating them to enclosed breeding yards within my chicken yard. This staged approach to their upbringing ensures a healthy start and a sense of security as they gradually explore their new outdoor environment.
Water
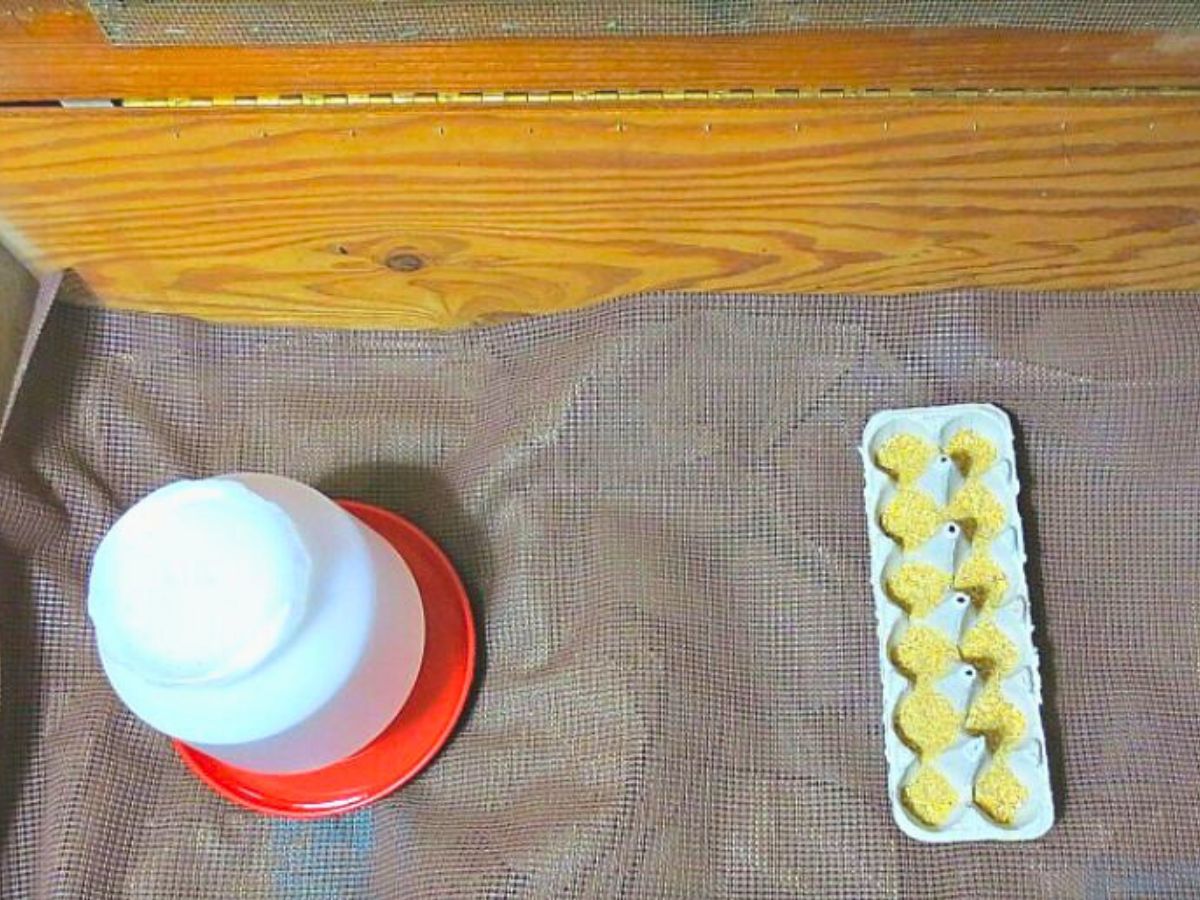
As soon as your chicks arrive, it’s essential to have their water supply ready and waiting. For a group of up to 50 chicks, a gallon of water is sufficient. Here’s a helpful tip: I add 3 teaspoons of raw, organic apple cider vinegar to their first gallon of water. The ACV provides an energy boost, supports their immune systems, and aids in digestion, setting them off on a healthy start.
Remember, the key to ensuring your chicks thrive is to always provide them with clean, fresh, room-temperature water. Regularly check and refill their water source to keep them hydrated and healthy.
Feed
Chicks rely on the nutrients they absorb from the egg during the first three days after hatching. If you’ve ordered mail order chicks, they may have hatched up to three days before their arrival, leaving them ravenous and thirsty upon arrival. To ensure their well-being, it’s crucial to have their food ready to go, preventing them from pecking at their litter in search of nourishment, as chicks tend to peck instinctively.
During the initial days, I prefer to feed them from egg cartons to minimize feed wastage. Around day three or four, I make the switch to a trough feeder. This transition prevents them from scratching their feed into the litter and vice versa. I find it best to fill their feeder only halfway, which helps reduce waste, keeps the feed fresh, and allows for easier cleaning.
It’s important to keep feed constantly available, especially for the first six weeks. While young chicks eat only a small amount, roughly equivalent to a thimble’s worth of food each day, there are various ways to supplement their diet. Some people opt for a homegrown approach, which is commendable. I start with organic, non-GMO chick starter for the first four weeks and then introduce supplementary items like scrambled eggs, dairy products, garden scraps, and, of course, worms to ensure a well-rounded diet.
If you can find it at your local farm supply store, that would be the cheapest way to buy it. If they don’t carry the brand I use, Scratch and Peck Feeds Starter, or another non-GMO starter, you can ask them to order it for you. This is part of being prepared for brooding chicks.
Light
In the crucial first week of their lives, it’s essential to maintain a well-lit environment for your chicks around the clock. Inadequate lighting can lead to stress among the chicks, increasing the likelihood of them pecking at each other. Such behavior can also result from factors like overheating, limited space, or poor ventilation.
During the second week, I gradually adjust the lighting schedule, turning off the light for increasing periods during the day. This step is essential to acclimatize the chicks to the natural day-night cycle, ensuring they won’t be frightened or agitated when they eventually experience nighttime outdoors.
The infrared heat lamp you use not only provides warmth but also serves as a source of light, helping to alleviate pecking tendencies among the chicks. This dual-purpose solution aids in creating a comfortable and stress-free environment for their growth and development.
Litter
Ensuring proper flooring for your chicks is crucial, as they are susceptible to developing spraddle legs, a condition often attributed to slippery surfaces before their leg cartilage fully matures. Slippery surfaces like newspaper and straw should be avoided.
Consider litter options such as burlap sacks, clean rags made from discarded clothing (be sure there are no loose threads that could cause your chick to be strangled or crippled), or loose litter such as pine shavings or hay (different from straw) can provide a more secure footing for your young birds.
A handy guideline to follow is to use litter that is too large for the chicks to ingest, reducing the risk of crop or gizzard impaction. By providing suitable flooring, you help ensure the well-being and comfort of your chicks during their crucial early days.
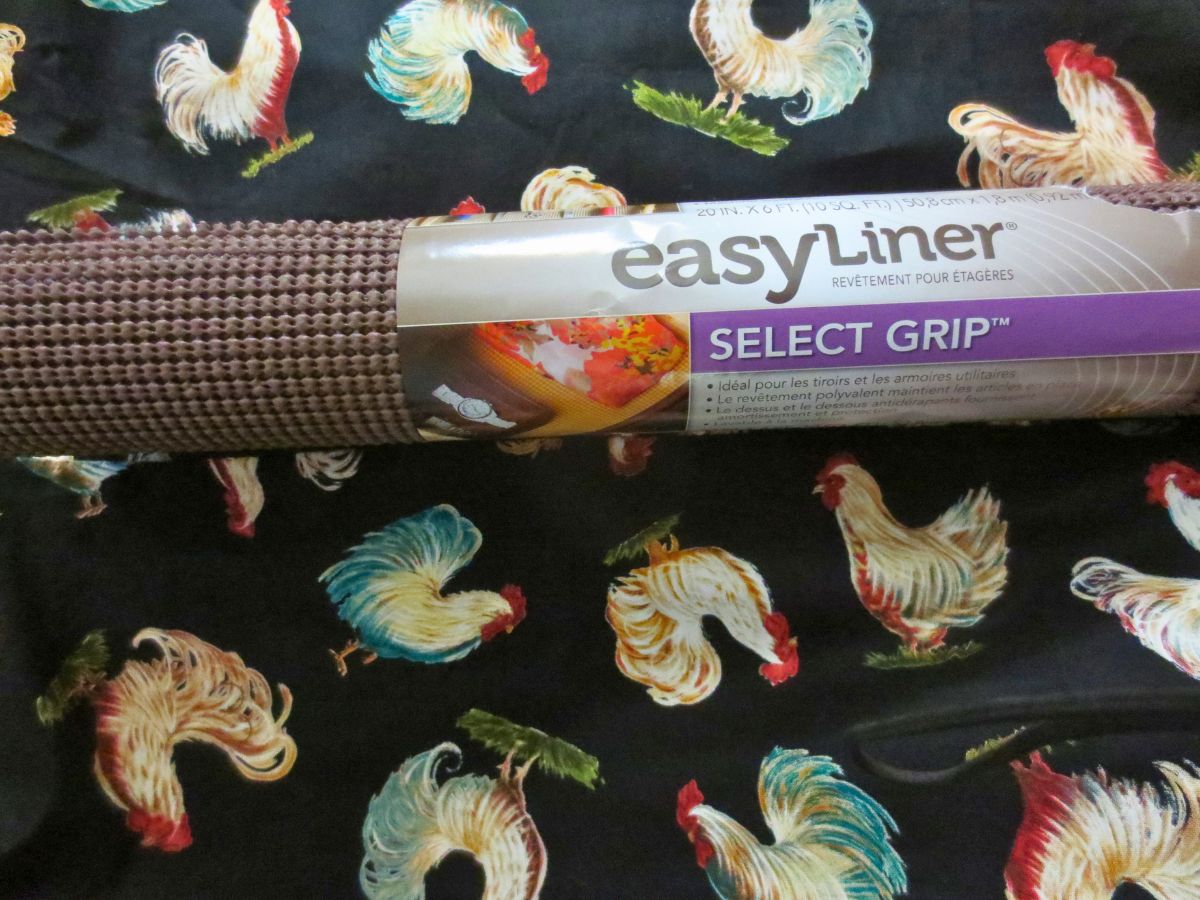
My preferred method for providing litter is to shred and/or wad brown paper bags, creating a comfortable and secure surface. I then cover this with a non-skid rubber shelf liner, which provides excellent traction for the chicks. This setup not only offers a safe environment but also makes changing litter a breeze.
When it’s time for a change, all you need to do is roll up the soiled litter, lay down a fresh, pre-cut piece of rubber liner, and rinse the dirty one off with a hose. Allow it to dry in the sun for future use. Depending on how quickly it gets dirty, I typically recommend changing the brown paper layer at least once a week to keep their environment clean and hygienic.
Now that you have everything set up and ready, the exciting moment has arrived—your chicks are here!
Welcoming Your New Chicks: First-Day Care Essentials
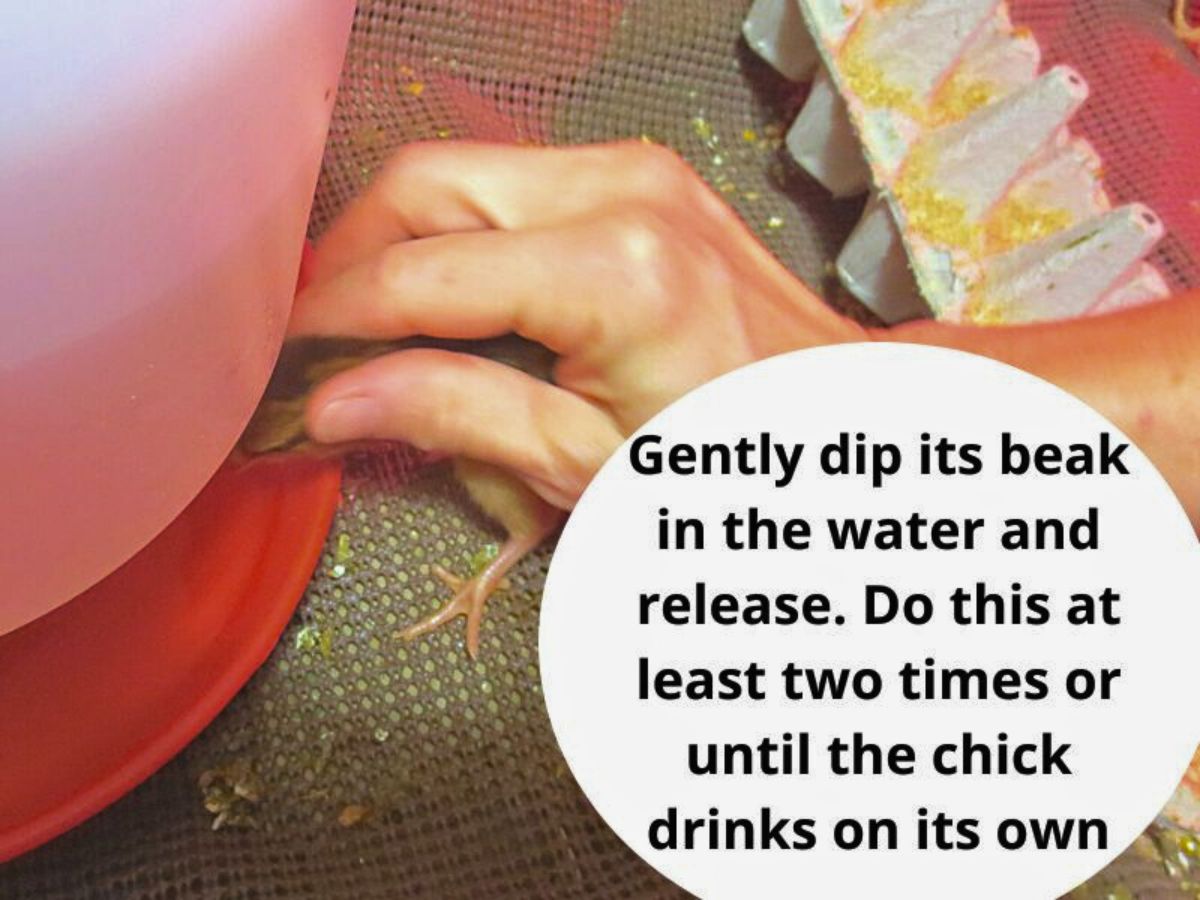
- The first thing you want to do is check your birds to be sure everyone has arrived safely. Depending on your hatchery’s policies, you’ll need to let them know of any dead or injured chicks.
- Remove the chicks one by one and dip their beak into the water.
- After the first or second dip, you will see the chick tilt his head back and swallow.
- Show them their food after everyone is drinking.
- Keep a close eye on them for the first few hours to be sure that everyone is warm, alert, and knows where their water and food are.
- On the fourth day, you may want to start offering baby grit or very fine sand lightly sprinkled over their food. Be careful not to use too much, as they’ll fill up on it instead of their food.
- Some people don’t give their chicks grit because they’re feeding them chick starter.
- I don’t add it every time, but I do add it every other day or so because I feel it’s best for them since they don’t have a mother to teach them healthy habits.
The care process for chicks hatched in your incubator is the same as that of mail order chicks, except for the delivery inspection process and the possible need to contact the hatcher. Otherwise, the nurturing and attentive care you provide to these young arrivals remains unchanged.
Stress-Free Chick Ordering Tips
I’m often asked about the best way to order chicks. I’ve always had great success with McMurray Hatchery and can wholeheartedly recommend them. I would say it’s best to order from a hatchery close to you that you trust. This cuts down on the shipping time and stress for the chicks.
We usually allow our hens to hatch chicks to increase our flocks. You can learn how to help your broody hen hatch chicks in our dedicated post. However, if I had to order chicks, I would be sure they arrived from May to July. This is because our outdoor temperatures here in the Deep South never dip below 70 and are in the upper 90s by then. It’s best to not have chicks shipped when the weather is excessively hot because this makes shipment stress even harder on them.
I believe the best way is to order through your local farm supply store. Here’s my reasoning: When you order from the hatchery for shipment directly to your home, the chicks are boxed and sent through the mail carrier, where they will change trucks several times.
During shipment, they’re handled by many different people. Some people are thoughtless of the life inside, some people are busy and don’t stop to think they’re handling fragile life, and yes, some are kind and thoughtful. I’ve had chicks arrive with the box open because people were peeking at or touching them. It’s risky for the chicks.
When you order through your local farm supply, the chicks are loaded directly onto a truck and delivered to the store. Then you pick them up. The store buys in bulk from the hatchery that delivers straight to them.
This means there’s plenty of warmth and only a couple of handlers, causing less stress on the chicks, which makes for happier, healthier birds. Shipment stress can kill the chicks so anything to cut down on this is emotionally and financially beneficial.
You May Also Enjoy
How to Incubate Eggs Successfully
How to Introduce New Chickens to a Flock
Your Complete Guide to Feeding Chickens
FAQs about Brooding Chicks
- What do I need to set up for brooding chicks?
- Ensure you have a warm, draft-free brooder with proper ventilation and a way to maintain a consistent temperature. Based on your resources, consider homemade solutions like cardboard boxes or more elaborate setups.
- How should I manage the temperature for brooding chicks?
- Start with a temperature around 90-95°F and gradually reduce it by about 5°F each week, aiming for 70°F by six weeks.
- When do I introduce the chicks to the outdoor environment?
- This depends on your climate, what time of year you hatch them, and your outdoor setup.
- After the first two weeks in the brooder, I transition them to an enclosed area within my poultry yard.
- If the outdoor temperatures are not 85 degrees or warmer when the chicks are two weeks old, do not put them outdoors until they have been acclimated, as discussed above.
- What’s important about water for chicks?
- Provide clean, fresh, room-temperature water. Adding raw, organic apple cider vinegar for the first few days can boost their energy and support their immune system.
- How should I feed my brooding chicks?
- Start with a nutrient-rich chick starter feed and gradually introduce items like scrambled eggs, dairy products, and garden scraps.
- What lighting conditions are needed for brooding chicks?
- Maintain a well-lit environment for the first week, then gradually adjust to a natural day-night cycle to prevent stress and pecking behavior.
- What kind of litter should I use in the brooder?
- To prevent spraddle legs, use non-slippery materials like burlap sacks, clean rags, pine shavings, or hay. Avoid using newspaper or straw.
Wrap UP
Now, armed with the essential knowledge and preparations, you’re well-equipped to embark on the journey of successfully brooding chicks to either expand or kickstart your backyard flock. Remember, their immediate needs revolve around
- Water
- Heat
- Feed
They may be a bit stressed from shipment and handling so having everything prepared will make all the difference to their future health. The absence of a mother adds to their initial unease, but by promptly addressing these requirements, you’ll help them settle in quickly and set the stage for happy and healthy birds in your care.
As always, we’re here to help.
[…] I was able to determine they like it 5-10 degrees warmer than chicks the first couple of weeks. It’s also better for them to have their food and water elevated to neck level. Otherwise, you can brood them like chicks. […]